Fadiyah Sameh
Ever tried throwing a sale without setting prices? It’s like hosting a party but forgetting to invite guests!
WooCommerce Sale campaigns can turn chaotic fast if your discounts aren’t prepped properly. Whether you’re slashing prices for Black Friday or just bribing customers to clear that “mystery” inventory, nailing sale prices is your golden ticket to conversions (and fewer existential crises).
So the question is, how to set the sale price in WooCommerce?
To set a sale price in WooCommerce, edit your product, navigate to Product Data >> General, and enter the Sale Price. For timed deals, schedule start/end dates. Variable products require updating prices under the Variations tab. For bulk sale pricing, use plugins like Disco for large inventories.
In this guide, we’ll walk through everything from basic price tweaks to advanced plugins—so you can stop sweating over spreadsheets and start watching those “Sold” notifications roll in.
Table of Contents
How to Set the Sale Price in WooCommerce?
You can set the WooCommerce sale price in several ways.
- Manually set a Sale price on individual pages.
- Bulk edit the Sale price using Bulk Action from the All Products page.
- Using a WooCommerce sale plugin to apply a sale price automatically to selected/all products or apply WooCommerce dynamic pricing strategies.
Let’s start with the built-in options.
How to Set the Sale Price in WooCommerce for Simple Products?
Here’s the WooCommerce sale price setup for simple products.
Step 1: Navigate to the Target Product
- Navigate to Products >> All Products >> Edit Product.

Step 2: Set Sale Price
- Scroll down to the Product Data section.
- Under the General tab, enter the Regular Price and Sale Price.

Step 3: Schedule Sale Prices WooCommerce
- Click the Schedule link to open the WooCommerce sale discount scheduler.

- Set the start and WooCommerce sale end date.

Step 4: Save and Test
- Click Update to save your changes. Test from the front.

This is the process of setting product sale price in WooCommerce.
How to Set the Sale Price in WooCommerce for Variable Products?
To apply variable product discounts WooCommerce, follow these steps –
- Step 1: Visit the target variable product page.
- Step 2: Click on the Variations tab.

- Step 3: Click on each variation and set the Sale price individually for every variation to WooCommerce set sale price for variable product.

- Step 4: Test from the front.

This is how WooCommerce set sale price for variable product.
WooCommerce Bulk Edit Sale Price
WooCommerce also allows you to set sale prices in bulk. Here’s how to bulk edit sale prices in WooCommerce.
1. Select Products
- Go to Products >> All Products.

- Select all products using the selector.
- Or check the boxes next to items you want to discount (or use filters by category/tag).
2. Open Bulk Editor
- Under the Bulk Action dropdown, select Edit.

- Click Apply, and it will open a new bulk edit window.

- Under the Sale dropdown, select the appropriate option.
3. Adjust Sale Prices
Under the Sale dropdown, choose an action:

- Change to: Enter a fixed sale price for all selected products (e.g., $19.99).
- Increase Existing Sale Price By (Fixed Amount or %)
Raise the current sale price by a percentage (e.g., +10%) or fixed amount (e.g., +$5). - Decrease Existing Sale Price By (Fixed Amount or %)
Lower the current sale price by a percentage (e.g., -20%) or fixed amount (e.g., -$3). - Set to Regular Price Decrease By (Fixed Amount or %)
Automatically calculate discounts from the original price (e.g., 25% off).

4. Update & Verify
Click Update to apply changes. Take a look at the product pages to ensure prices display correctly.

Limitations of Built-In Sale Features
WooCommerce’s basic sale tools work for simple setups but struggle with complex stores. Here’s what you need to know:
1. Variable Products Take Forever
Updating sale prices for products with multiple variations (like sizes or colors) means editing each one manually. If you have 50 T-shirt variations, you’ll spend hours instead of minutes.
2. Bulk Editing Is Basic
The bulk editor only works for simple products. For variable products or mixed product types (like bundles), you’re stuck. It also can’t schedule future sales or set rules like “20% off if customers buy 3+ items”.
3. No Automatic Sales
Want a recurring Black Friday discount every year? WooCommerce won’t save or repeat sale schedules. You have to redo everything manually each time.
4. Limited Discount Types
Built-in tools only handle simple percentage or fixed discounts. No options for “Buy One Get One” tiered deals or category-wide sales unless you code it yourself.
5. Scheduling Is Clunky
Setting start/end dates for each product individually gets messy fast. For stores with 100+ products, this becomes a full-time job.
Pro Tip
Plugins like Disco fix these gaps. They handle variable products in bulk, create recurring sales, support, and offer advanced discounts like “Spend 100 Get 20% Off”.
How to Set the Sale Price in WooCommerce Programmatically Using a Plugin?
Plugins are your best option for offering discounts and setting sale prices automatically within a few clicks. No manual browsing through products or complicated bulk action process.
For this article, we will use a free yet monster of a powerful plugin called Disco. This free WooCommerce sale price plugin packs all the guns and muscles to offer dynamic pricing and sale discounts.
Let’s start with how to apply a sale price to all products in your store at once.
- Example Scenario: “20% Off Sale on All Products”
Step 1: Install the Disco Discount Plugin
- Navigate to Plugins >> Add Plugin.
- Search for Disco.

- Install and activate.
Step 2: Create Discount Campaign
- From the WordPress dashboard, go to Disco.

- Click on the Create a Discount button.
- Input a name for your WooCommerce automatic sale price campaign.

Step 3: Configure Sale Price Discount
- Select the Product discount intent.

- From the Discount section, select All Products.

- Select the Percentage Discount option from the Discount Type dropdown.
- Enter the target Sale price discount percentage in the Discount Value box.
Step 4: Save and Test
- Click the Save button. This will automatically apply the Sale percentage off on all products at your store.

- Visit the front page to check if the sale price is applied successfully.

This is how to add sale price to WooCommerce product.
Exploring Different Dynamic Sale Price Strategies
Static discounts are so 2010. Why settle for one-size-fits-all sales when you can dynamically tailor discounts to customer behavior, inventory levels, or even the weather? (Okay, maybe not the weather… yet.)
With Disco, WooCommerce stores can automate creative discount strategies that feel personal, drive urgency, and maximize revenue—without micromanaging every product. Let’s dive into WooCommerce dynamic pricing sale price tactics that turn casual browsers into obsessed buyers.
Strategy 1: Tiered Bulk Quantity Discounts
Reward customers for bulk purchases by offering escalating discounts as they add more items to their cart. This encourages larger orders while clearing excess stock.
Example:
- Buy 3-5 Items: Get 10% Off
- Buy 6-9 Items: Get 15% Off
- Buy 10+ Items: Get 20% Off
Why Use This?
- Boosts average order value (AOV).
- Simplifies inventory management for overstocked items.
- Appeals to bargain hunters who love stacking deals.
How to Offer a Sale Discount Based on Bulk Purchases in WooCommerce?
Here’s how to offer the above-mentioned WooCommerce bulk discounts using Disco.
- Create a new rule and select the Bulk intent.

- Specify the products.
- Input the first set of values according to your strategy. Enter 3 in the Minimum and 5 in the Maximum Quantity box.

- Select the Percentage Discount option and set the value.
- Click the Add More button twice to add 2 more rows and set the rest of the values.

- Save and test the rule from the front. Here’s what the cart page returns for 3-5 items.

- For 6-9 items –

- Finally, for 10 or more items, here’s how WooCommerce update sale price programmatically

Strategy 2: Category-Specific Flash Sales
Target entire product categories (e.g., “Summer Apparel” or “Gadgets”) with time-sensitive discounts. Ideal for seasonal promotions or category rebranding.
- Example: “48-Hour Flash Sale: 30% Off All Gadgets”
Why Use This?
- Drives traffic to underperforming categories.
- Creates urgency with countdown timers.
- Works seamlessly with email/SMS campaigns.
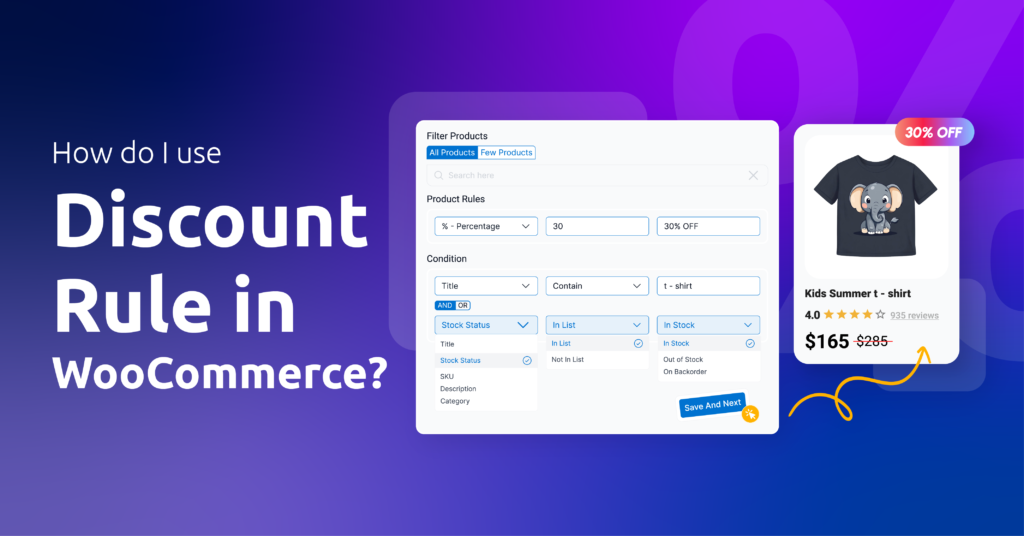
How to Set the Sale Price in WooCommerce Based on Category?
Disco offers a wide range of condition filters for you to offer dynamic discounts based on various criteria. You can create a discount based on customer behavior, purchase history, or cart conditions.

Here’s how to create the above time-limited category sale discount using this WooCommerce flash sale plugin.
- Create a new rule and select the Product intent.

- Select All Products to offer the discount on all products under your target category.
- Use the Valid Between fields to WooCommerce schedule sale price.

- Set the WooCommerce sale price start date and end date.
- Select the Percentage Discount and set the value.

- Click the Add Condition button.
- Select the Categories filter.

- Search and select your target category.

- WooCommerce will automatically activate and end the Sale discount according to your set time and date, and display the WooCommerce category sale price.
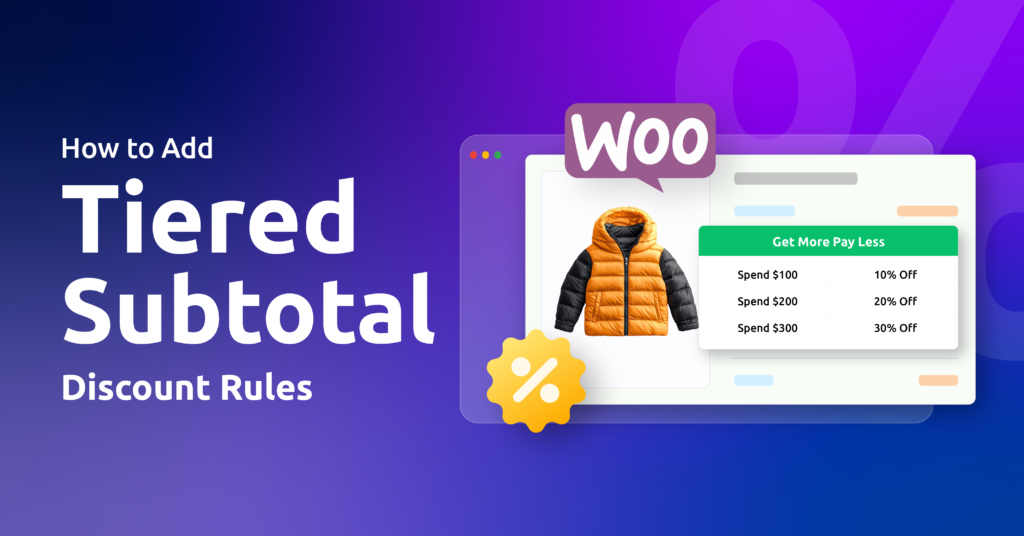
Strategy 3: Cart Total Threshold Discounts
Motivate customers to hit a spending threshold by offering discounts when their cart reaches a specific value.
- Example: “Spend $100 or more, Get $20 Off”.
Why Use This?
- Increases cart totals by nudging shoppers to add more items.
- Reduces cart abandonment with a tangible reward.
- Flexible for testing different thresholds (75,75,100, etc.).
How to Set the Sale Price in WooCommerce Based on Cart Condition?
Here’s how to offer a cart-based discount in WooCommerce.
- Select the Cart discount intent from the top after creating a new rule.

- Specify the products and expiration date.
- Select the Fixed Discount option from the Discount Type dropdown and set the value.

- Click the Add Condition button and select the Cart Subtotal filter.
- Select the Greater Than Or Equal operator while inputting the minimum cart value.

- Save and add $100 or more worth of items to the cart to test the rule.

Strategy 4: Loyalty Member-Exclusive Discounts
Reward repeat customers with exclusive discounts tied to their account status. Builds loyalty and separates high-value shoppers.
- Example: “Wholesale Members: 25% Off All Orders”
Why Use This?
- Encourages account sign-ups.
- Strengthens customer retention.
- Lets you test premium pricing strategies.
How to Set the Sale Price in WooCommerce Based on User Role?
Here’s how to create a user role-based discount in WooCommerce in easy steps.

- Select the Product discount intent and select All Products.
- Set the percentage value from the Product Rules section.
- Add the condition User Role.
- Type in or scroll and select the Wholesale user role.
- Save and test using a test Wholesale user account.
Strategy 5: BOGO (Buy One, Get One) Deals
Offer free or discounted products when customers purchase specific items. Disco allows multiple types of BOGO discounts.
Example: “Buy a Laptop, Get a Headset for Free.”
Why Use This?
- Upsells complementary products.
- Clears paired inventory (e.g., phone cases with phones).
- Feels generous without eroding profit margins.
How to Create a BOGO Sale Campaign in WooCommerce?
The BOGO feature is only available on the Pro version of Disco.
- Select the BOGO discount intent in a new rule.

- Choose the Few Products option this time.

- Search and select the laptop product.
- From the BOGO Type dropdown, select the Buy X Get Y option.

- Input 1 in the Minimum and Get Quantity boxes.

- Set the Discount Type as Free Items.
- Search and select the free product.

- Save and test from the front.

Best Practices for Running Successful Sales
We have explored different methods of how to set the sale price in WooCommerce. Let’s have a look at some best practices that you don’t miss or mess up.
1. Map Your Sale Like a Heist
Why: Random discounts = chaos. Plan dates (avoid holidays everyone targets) and what to discount (clear old stock vs. hype new launches).
Example: “Back-to-School Sale: 30% Off Last Year’s Backpacks (Aug 1-10)”.
Do This:
- Use a calendar to avoid overlapping promotions.
- Check inventory before slashing prices.
- Align discounts with customer pain points (e.g., “Summer Heatwave: 40% Off Fans”).
2. Shout About Your Sale (Without Being Annoying)
Why: A sale no one sees is like a cake without frosting. Use emails, SMS, and sticky banners.
Example: Send a 24-hour warning email: “Your Cart is Crying – 20% Off Ends Tomorrow!”
Do This:
- Tease the sale early on social media.
- Use urgency: “48-Hour Flash Sale” > “Ongoing Discount”.
- Target loyal customers with exclusive codes.
3. Test Before You Invest
Why: Guessing discounts can cost money. Try small first.
Example: Run a 10% off sale for 50 products. If sales jump, scale to 100+ items.
Do This:
- A/B test discount amounts (15% vs. 20%).
- Check if free shipping beats dollar discounts.
- Track which products sell fastest.
4. Track, Tweak, Repeat
Why: Sales aren’t “set and forget”. Watch metrics like a hawk.
Example: Notice leggings sell out, but water bottles flop? Swap next sale’s focus.
Do This:
- Use WooCommerce Analytics for real-time sales data.
- Ask customers: “What made you buy?” (Simple pop-up survey).
- Kill underperforming discounts fast.
Pro Tip: Tools like Disco automate promo scheduling and tracking.
Wrap Up
Now you know how to set the sale price in WooCommerce—whether you’re tweaking a single product, bulk-editing hundreds of items, or automating discounts with plugins.
But remember, slapping a “Sale” tag isn’t enough. Test different strategies, track what converts, and don’t let FOMO (Fear of Missing Out) turn your store into a discount graveyard. Use tools like scheduling and dynamic pricing to keep sales fresh, urgent, and profitable.
Ready to watch those “Order Completed” alerts light up your screen? Time to get selling!