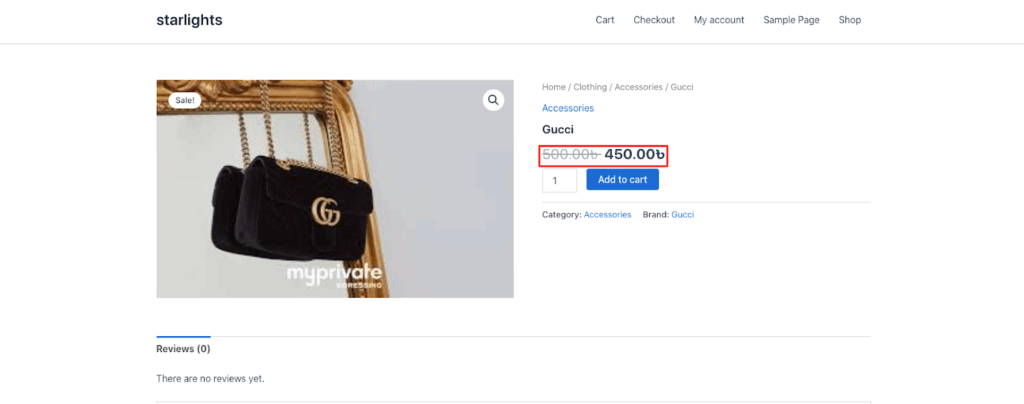
With the Disco Pro plugin, WooCommerce store owners can easily create brand-specific discounts.
The plugin allows you to customize discounts for any brand across all discount intents, making promotions simple and flexible.
| Note: To proceed, you must have the Disco Pro plugin installed and activated before proceeding. Get the Disco Pro plugin now↗. |
Step 1: Assign Products to Brands #
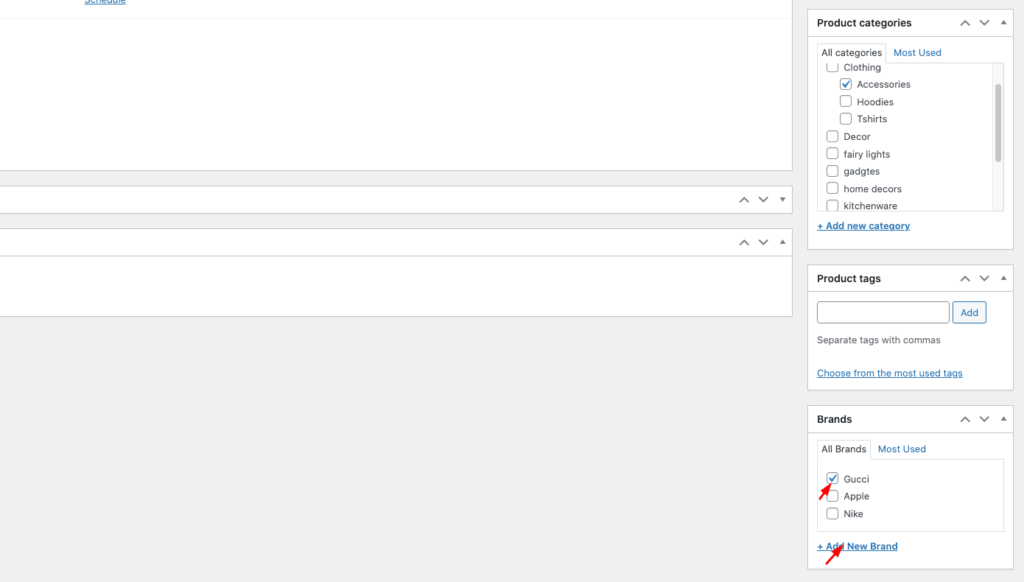
In WooCommerce 9.6, you can assign brand names directly without creating attributes or using extra plugins. Make sure each product is linked to the correct brand.
Example: Assign the brand Gucci to a bag. With the Disco plugin, you can then create brand-specific discounts using any discount intent.
Step 2: Open Disco and Create a Discount #
Go to your WordPress Dashboard, find Disco, and click Create a discount to begin setting up your brand-based offer.

Step 3: Add Campaign Name and Select Discount Intent #
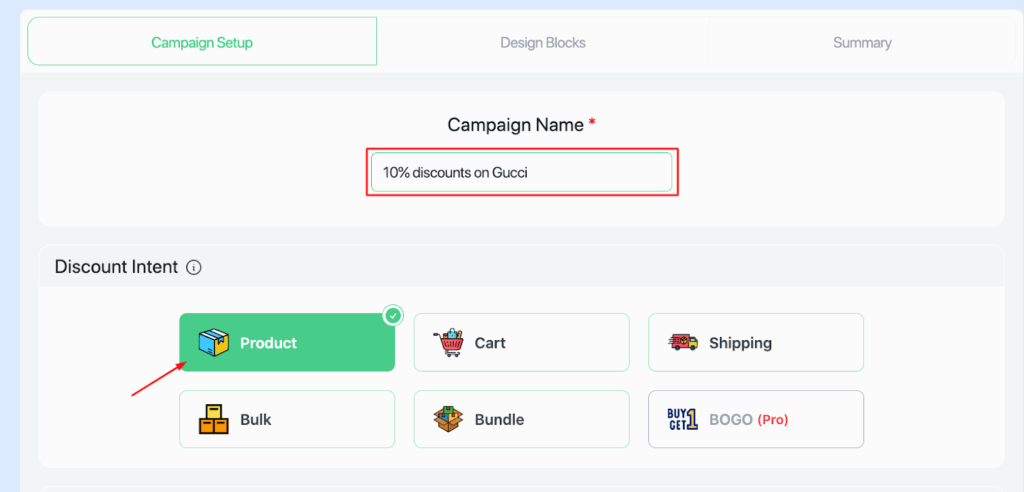
Enter a Campaign Name and choose your Discount Intent.
Example: Set the name as “10% Discount on Gucci” and select Product as the discount intent. Customers can pick whichever option best fits their needs.
Step 4: Select All Products in Filter #
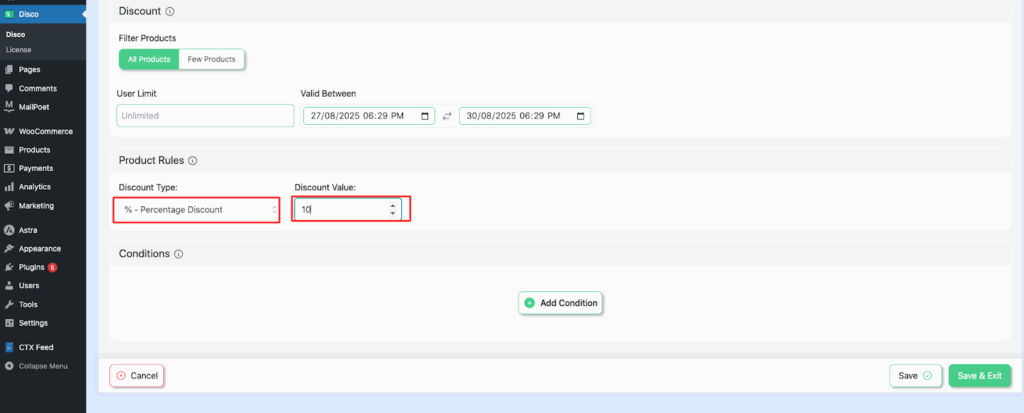
From the Filter section, choose All products. This means the discount rule will apply to every product initially.
Later, we’ll narrow it down specifically by WooCommerce brands.

Step 5: Set User Limit and Validity Date #
Enter the User limit and the Validity date for the discount.
Example: Leave User limit blank so customers can use the discount multiple times. Set the Validity date from 1/09/2025 to 5/09/2025 to define the offer period.

Step 6: Configure Product Rules (10% Discount) #
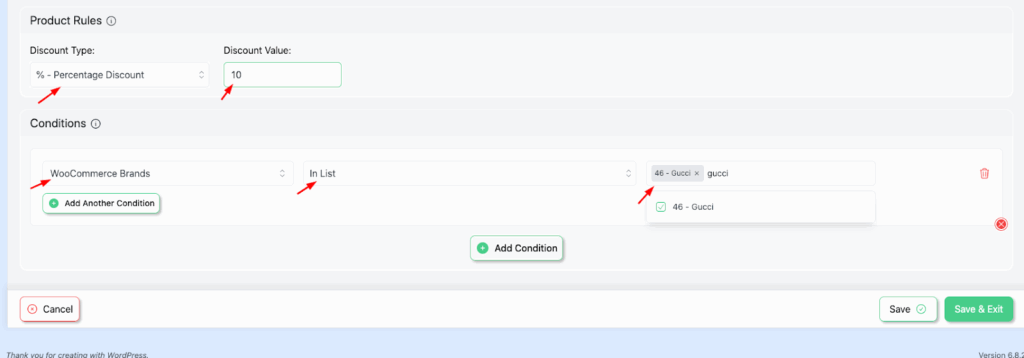
Set the Discount type to Percentage discount and enter the value as 10.
This will automatically deduct 10% from the original product price.
Step 7: Add Brand Conditions #
In the Conditions section, select WooCommerce Brand. Use the In list (Include) option so the discount applies only to products from the chosen brand.
Example: Search and select the brand Gucci to apply the discount specifically to Gucci products.
Step 8: Save and Launch the Campaign #
Click Save and Exit to activate your discount campaign. The rules will now apply based on the conditions you set.

Step 9: Verify the Discount in Your Shop #
Go to your shop and check that the discount rule works. You should see the 10% discount automatically applied to Gucci products.
